Seat Cooler
Necessity is the creator of many inventions. Another instigator is that so many things are so unreasonably priced that one has to find another solution. With us, that has led to the creation that was actually a 'stolen' idea (perhaps borrowed idea is a better thought) of the 'Bumbo chair'. Emmett loves it but has seriously outgrown this cool device. Then there was the 'Legzerciser 2018' to help him move his legs about. It also has been outgrown and his need for it reduced. There is the backup power supply, which will provide a couple of days of electricity for medical equipment and will always be very useful.
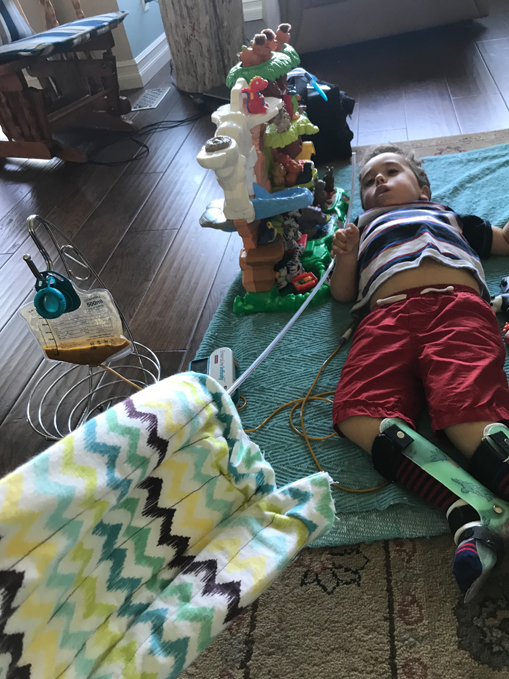
 The latest is a wheelchair seat cooler which is absolutely needed for hot summer days. As Emmett cannot twist and turn to shift positions, he is literally planted in one position in a hot, black wheelchair seat. As much as he loves his wheelchair, the heat is sometimes just too much and he is drenched with sweat. This is the current challenge - wondering how to cool down a little boy who gets drenched with sweat in his power chair during the hot days of summer. There are cooling pads that you can leave overnight in a fridge or freezer / immerse in water and then place on the seat - they do help - but they have a limited window of effectiveness. There are cooling shirts and vests that you can purchase - they are rather expensive. And then there is ingenuity. For about $60 we have created a cooling pad that effectively assists in keeping Emmett's seat cool.
Get an aquarium pump, a battery, some pipe fittings, tubing, and some material and 'Presto!' - you have a seat cooling pad that costs about $60. Less if you have some of the materials sitting unused around your house.
Here's what we did.
 1. First we found an aquarium pump. Local pet supply stores weren't able to help with the battery powered requirements so we turned to Amazon and found a Robolife Mini Brushless 'Submersible' Water Pump. Having the pump submersed just makes it easier. Having it DC powered is a must as you don't want to be trailing an extension cord along behind the wheelchair. (And don't limit this to a wheelchair, it could be almost anything. We have used it with the chair, his standing frame - so make use of it.) This is a small pump and we were concerned that it might not be able to push water through the 25' of tubing that we used. The flow is reduced when the 25' is compared to just a couple of feet, but we'll let you know how that tiny pump handles the ongoing pressure. UPDATE: it was a 27°C day and the pump and seat cooler performed just as we'd hoped.
 2 Month Update: the pump quit so we're trying a different type. It will be arriving shortly and we'll update this with more details. But this does work, this is just a small kink in our project!
This new pump is awesome. More durable and dependable. Do a search on Amazon for a brushless DC40 submersible water pump. There should be a wide range available.
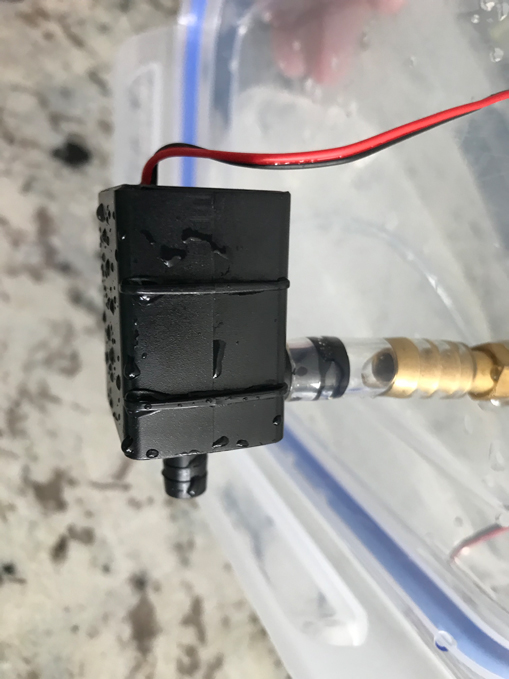
 2. This pump had a 5/16" inlet and outlet. That piping was simply too big to be comfortably sitting on for any length of time. I couldn't find a pump with a smaller setup so went to a local auto parts store and purchased some reducers so was able to take that 5/16" outlet down to a 1/8" outlet. That should be better for long term seating applications - we will let you know. First trials there were no indications of pressure marks.
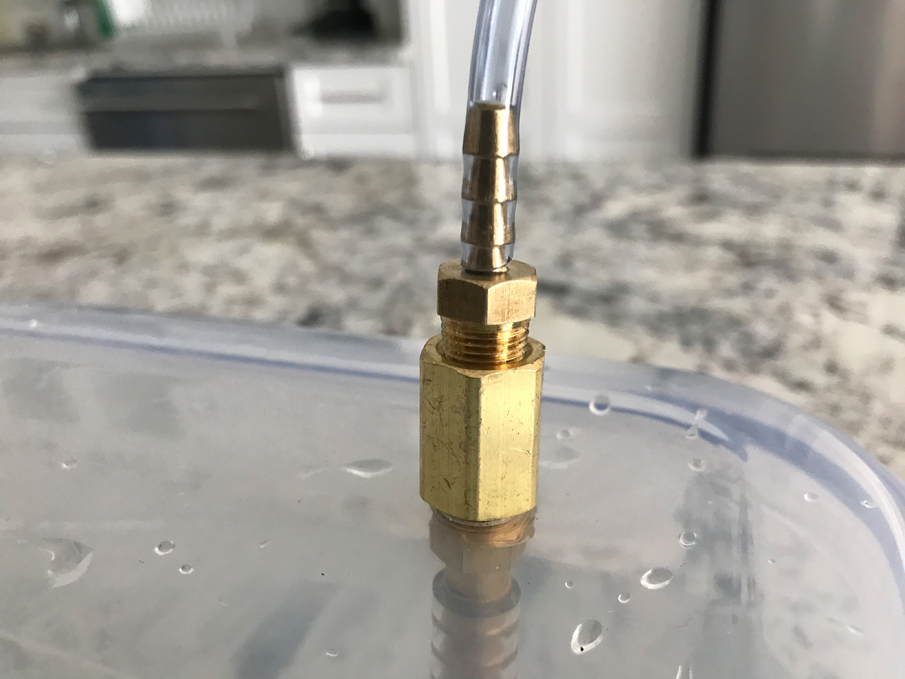
 3. The adaptors we found were brass and they were ideal to secure in the lid of the plastic container we are using as a water container. It's a snap lid type of container that we hope will reduce the number of spills! We drilled three holes in the lid. The first hole was one that we could fit the brass adaptor into. This hole was drilled so that the fitting actually had to be threaded into the lid (again, will stop water leaks especially when coupled with a bit of silicone). Next we drilled about a 1/4" hole so that the return water tubing could friction fit through this hole. The third hole was a very tiny hole to fit the power lines through. The container we got is about is about 8" by 5" and 4" deep. Again, we will have to let you know if that is large enough to keep cool for long periods of time. The good thing about this is that you can switch to a larger container at any time for more cooling capacity for those really hot summer days.
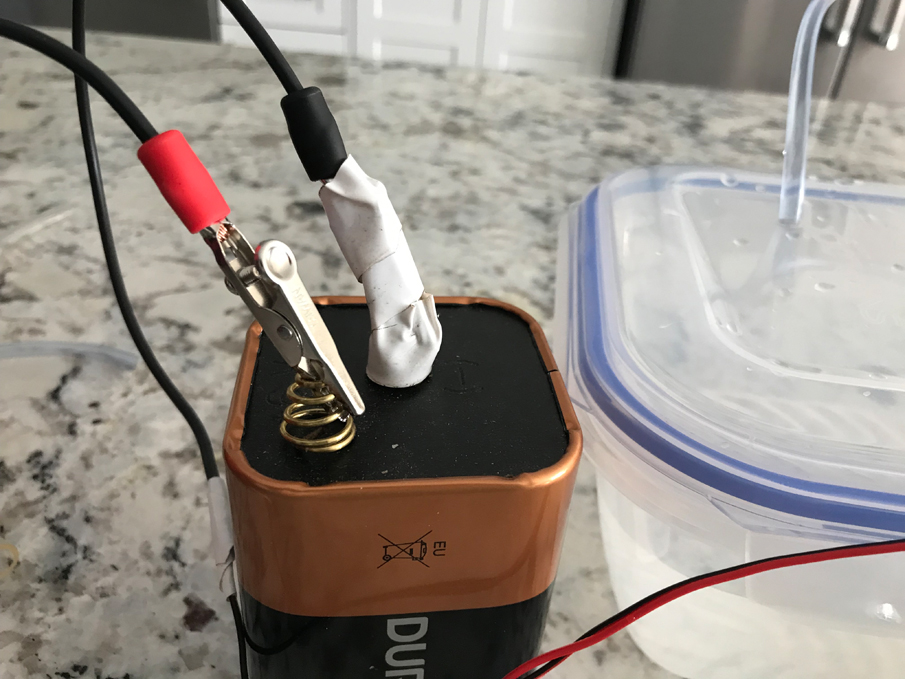 4. To connect the motor to the battery we chose simple alligator clips. That way you can just connect and disconnect in an instant. Rather than installing an on/off toggle switch we are just disconnecting the alligator clip. Note that the motor requires consistent power so you have to know which is your battery's positive and negative connection. To make life simple - mark them. Red on red and black on black. Or do what we did which was tape the black one into place to make it impossible to mix up.
Edit: While the alligator clips are simple, if they slip off and cross the positive and negative battery terminals, that will cause damage to the motor and possibly the battery. So we've gone with spade connectors and a simple on/off button switch found on Amazon (where is Radio Shack when you need it!).
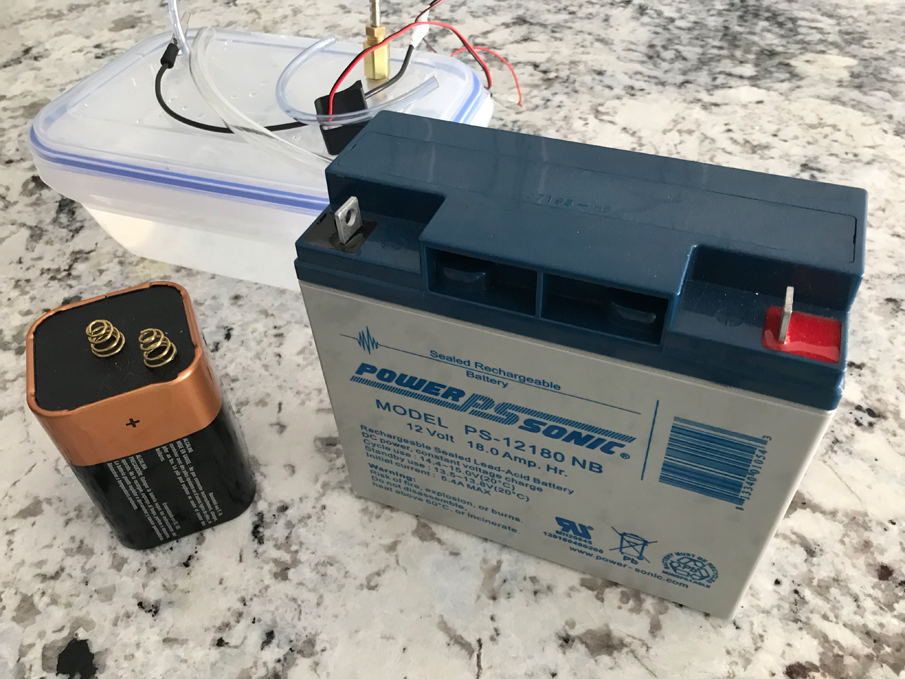 5. After much experimentation, we've found that a 12 Volt 4.5 to 5.5 amp battery is the best - this can be recharged too. We did find that a 6 volt 'flashlight' battery that does power our pump. It's light and easy to move about. Internet research indicates that this 6 volt battery will power the 12 volt pump but at a slower speed thus obviously pumping less volume. Then we have a larger 12 volt battery which, even though it's small, is rather heavy. The advantage of this is that it can be recharged with a standard automotive battery charger. This makes an obvious difference in the water flow and speed. Our trial and error found that the 6 volt battery wore out much too fast - we never had a chance to see if it will cause more wear and tear on the motor thus premature failure.
There are several sizes of small, rechargeable 12 volt batteries. More expensive to start but cheaper in the long run BUT you will need a battery charger to maintain it!
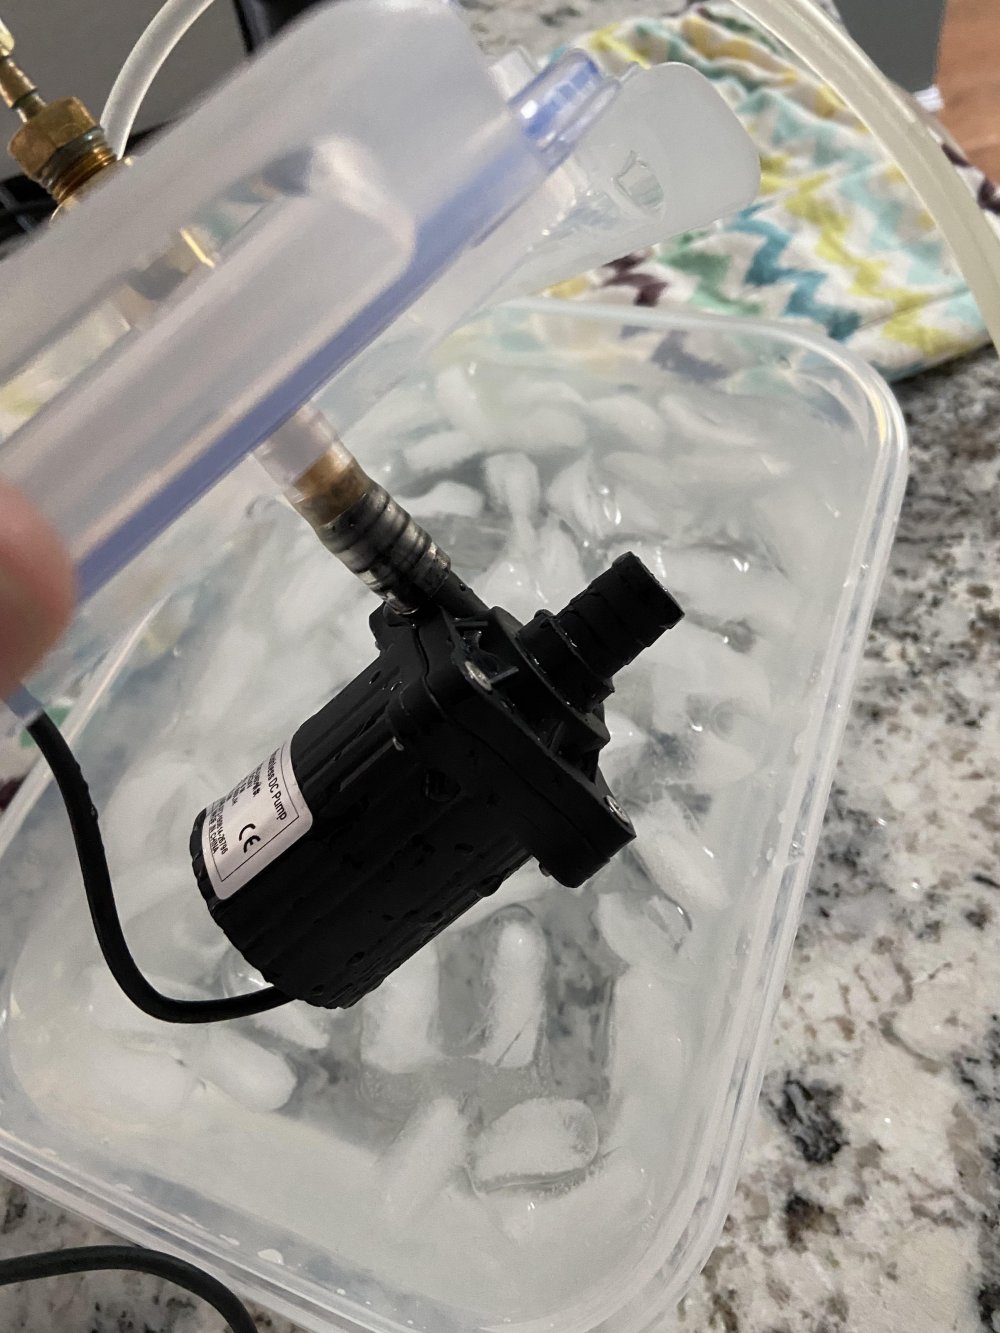
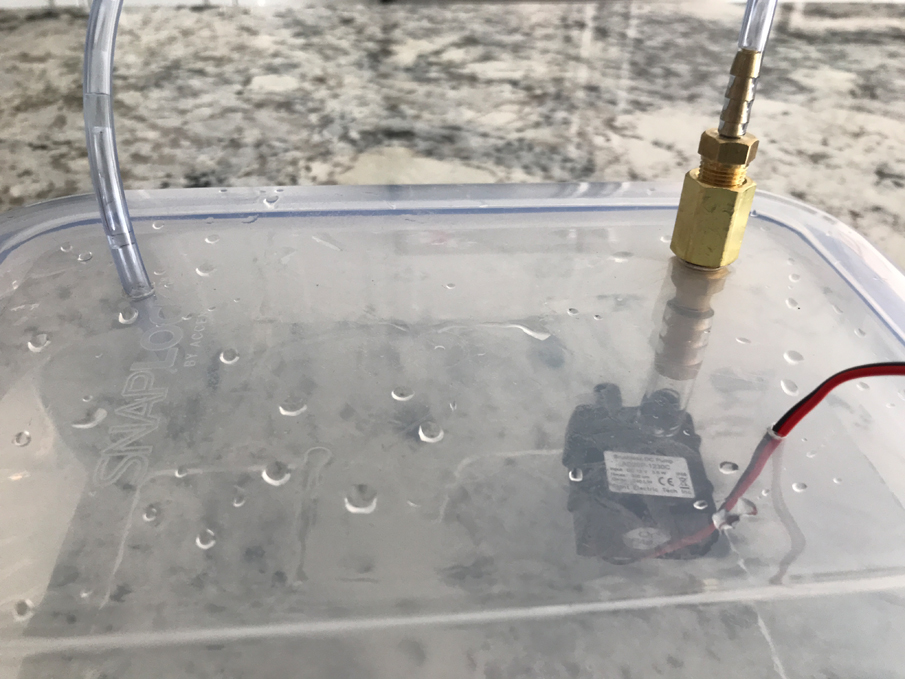
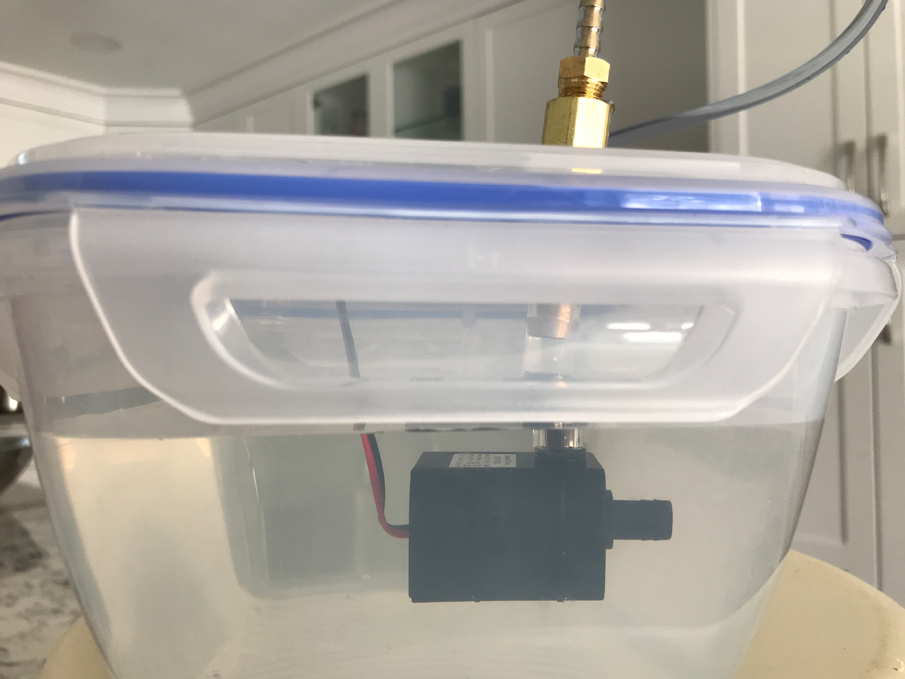 6. Mounting the pump was much simpler than I expected. It literally hangs off of the brass adaptors that are threaded into the container lid. Time will tell if this will need to change, but right now it is working. Obviously, you need to ensure that the container has enough water in it that the pump does not start to suck air when you are on uneven ground. Try to have the pump located as close to the bottom of the container as possible, without touching. Just because touching will likely increase the motor's noise level. Notice that the return tubing is not connected to the motor but just returns the water to the container. The motor inlet is left open for the water to enter.
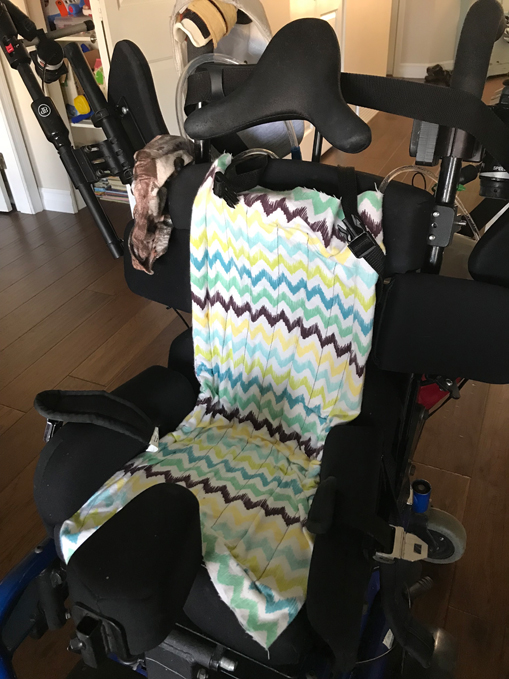
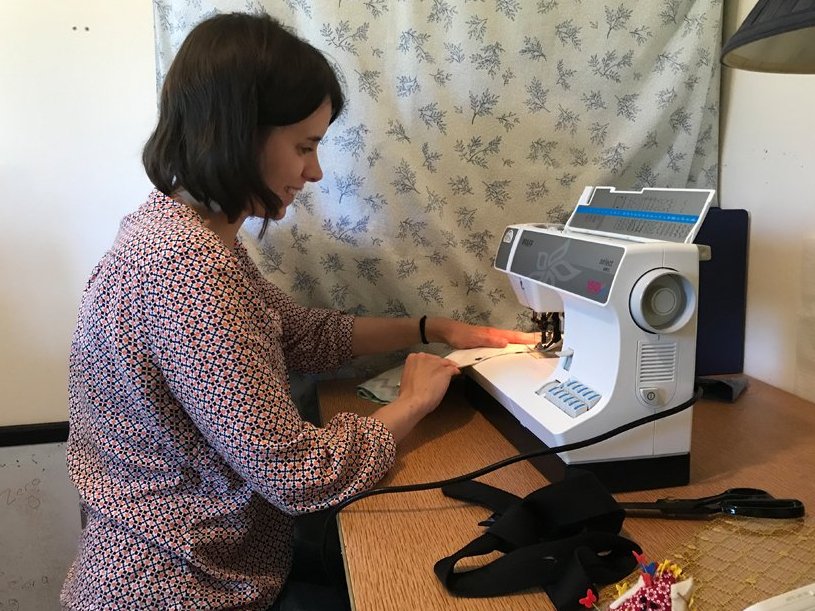 7. Alisha then sewed a rectangle shape with columns that are about 1.5" apart. The ends were not closed. This allowed the tubing to serpentine through the pad. As it's flexible, no couplers were required (couplers would be horrible to sit on). We made it large enough so that it will wrap around his body to provide some cooling on the sides also. For our situation, that meant that the fabric was about 28" long and 14" wide.
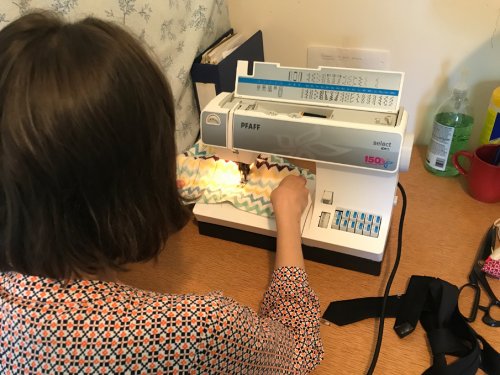
 8. In addition to sewing the sides from top to bottom, then columns were sewn into the fabric that we kept 1.5" apart. The top and bottom were left open to provide access to threading the tubing through the columns. The columns were started about 1.5" down from the fabric and ended 1.5" from the other end. The reason for this is to provide room for the tubing to bend and enter the next column.
 9. Hopefully you will have a helper. Feeding the tubing through the columns goes much easier when you have multiple sets of hands to work on this project. It also helps if the fabric material reminds you of Charlie Brown's shirt - simply because that's cool. Also, choosing a light colour will assist in the entire aspect of cooling (but it will need to be washable as it will stain easier than a black wheelchair seat.
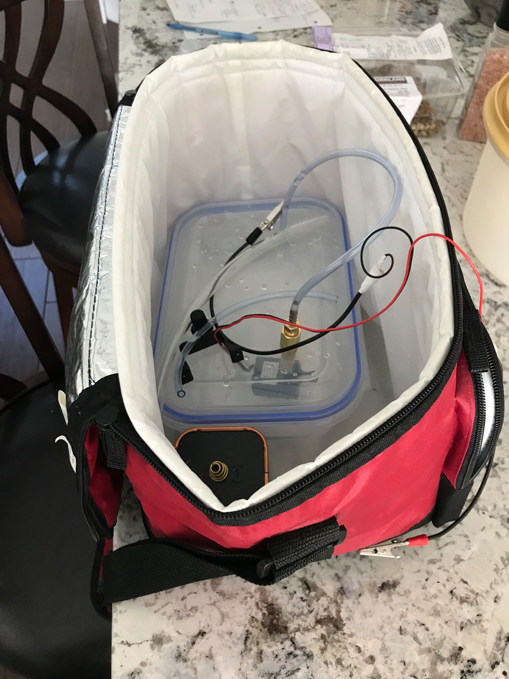 10. We had a used soft-sided cooler that was a perfect fit for out snap top container and either one of the batteries. This is then hung off the back of the power chair. We still had enough room for a food pump/bag and the suction machine. It would be a challenge to hang a spare suction machine but if required then we're sure you can figure out a way to make that happen.
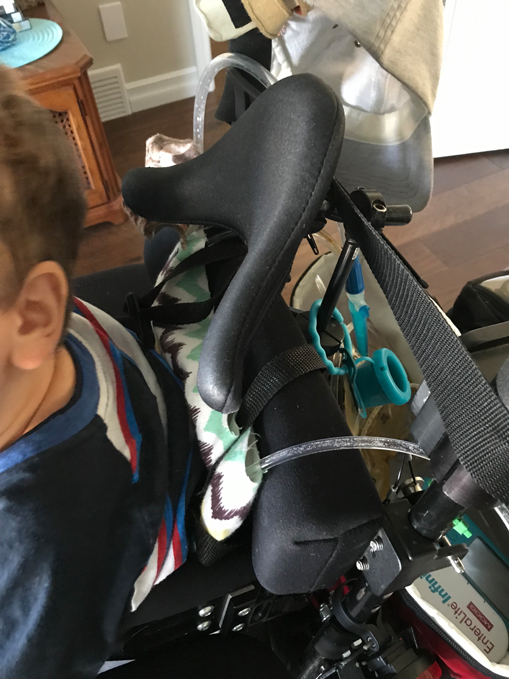
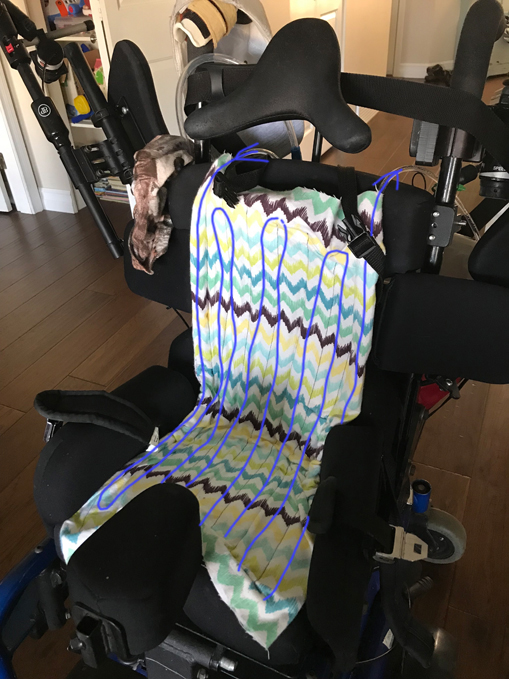
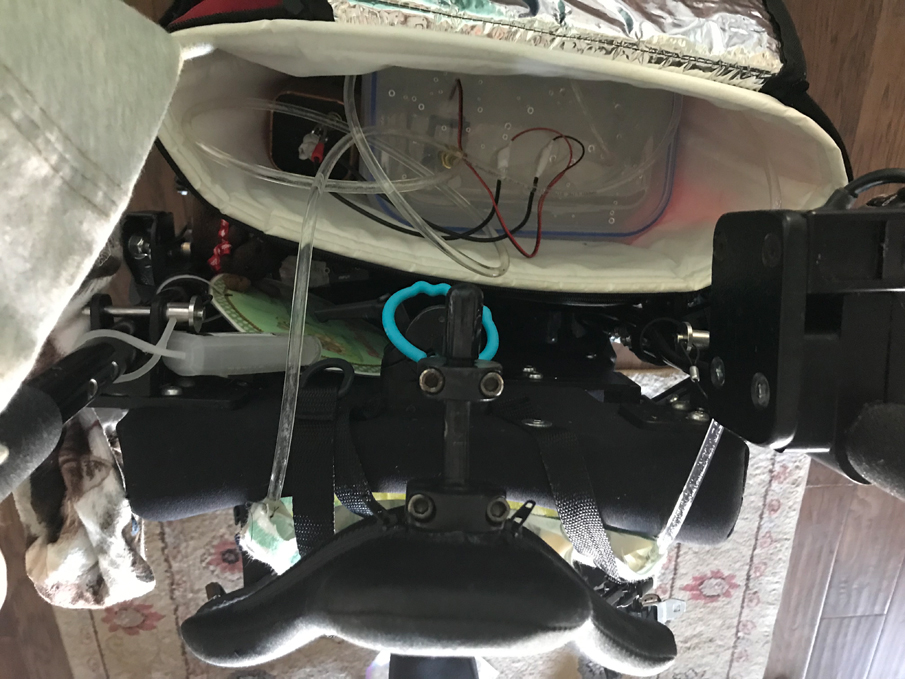 11. Here's a view from the top and from the back of the chair. We have the inlet and return tubing both coming out of the top of the pad and then into the snap-top container. We've started out using the 6 volt battery to test the effectiveness of this lightweight battery. You'll notice that we taped one of the alligator clips to the battery. This is to ensure that the +ve and -ve clips don't touch but also makes it easier to avoid connecting it wrong (and it won't work if the polarity is reversed).
If it is a really hot day, then add more ice to the container (or swap to a larger container). The capacity is only limited by the space you have available. Cooling is only limited by the availability of ice (fast food restaurants are a good source).
Cost: while our first seat cooler cost $60 to build, the 2021 version that I put together for a friend was around $110.
Motor: $15-$45 (but I'd suggest avoiding the $15 pumps you find online), Battery: $30 ($15 for the one time use 6 volt or $25/$50 for a 12 volt), Tubing: $18 (there is cheaper stuff available, this is more expensive but heavy duty automotive tubing that should outlast the chair. Not that that is a challenging feat as chairs don't last that long!), Connectors: $4, clips: $3, Snap top container: $9.50 (this lid literally has snaps to lock it in place; this is highly recommended for the movement that this unit will undergo).
Click on the photos to get an enlarged view (except for the photos of Alisha sewing, I was not even supposed to take those photos so you cannot get enlargements of those).
Links:


- Current
- December 2023
- November 2023
- June 2023
- April 2023
- March 2023
- December 2022
- November 2022
- October 2022
- August 2022
- June 2022
- March 2022
- February 2022
- December 2021
- November 2021
- October 2021
- September 2021
- August 2021
- June 2021
- March 2021
- February 2021
- December 2020
- November 2020
- October 2020
- September 2020
- August 2020
- July 2020
- May 2020
- April 2020
- March 2020
- February 2020
- December 2019
- September 2019
- August 2019
- July 2019
- June 2019
- May 2019
- March 2019
- February 2019
- January 2019
- December 2018
- November 2018
- October 2018
- September 2018
- August 2018
- July 2018
- June 2018
- May 2018
- April 2018
- March 2018
- February 2018
- January 2018
- December 2017
- November 2017
- October 2017
- September 2017
- August 2017
- July 2017
- June 2017
- May 2017
- April 2017
- March 2017
- February 2017
- January 2017
- December 2016
- November 2016
- October 2016
- September 2016
- August 2016
- July 2016
- June 2016
- May 2016
- April 2016
- March 2016
- February 2016
- January 2016
- December 2015
- November 2015
- October 2015
- September 2015
- August 2015